Showing posts with label T-shirt. Show all posts

Saturday, March 15, 2014

Saint Patrick's Day Shirts


I’ve been making festive t-shirts for my kiddos for years. This time around I thought I would give the reins over to them. I have to say, I think they did a pretty good job.

What you need to make one yourself….

T-shirt (I usually pre-wash)
T-shirt form (I made my own from cardboard and covered them with plastic bags)
Paper plates
Fabric paint
Pencils and/or sponge dabber
Pattern (I copied an image from google and cut it out of cardstock)
Glue stick
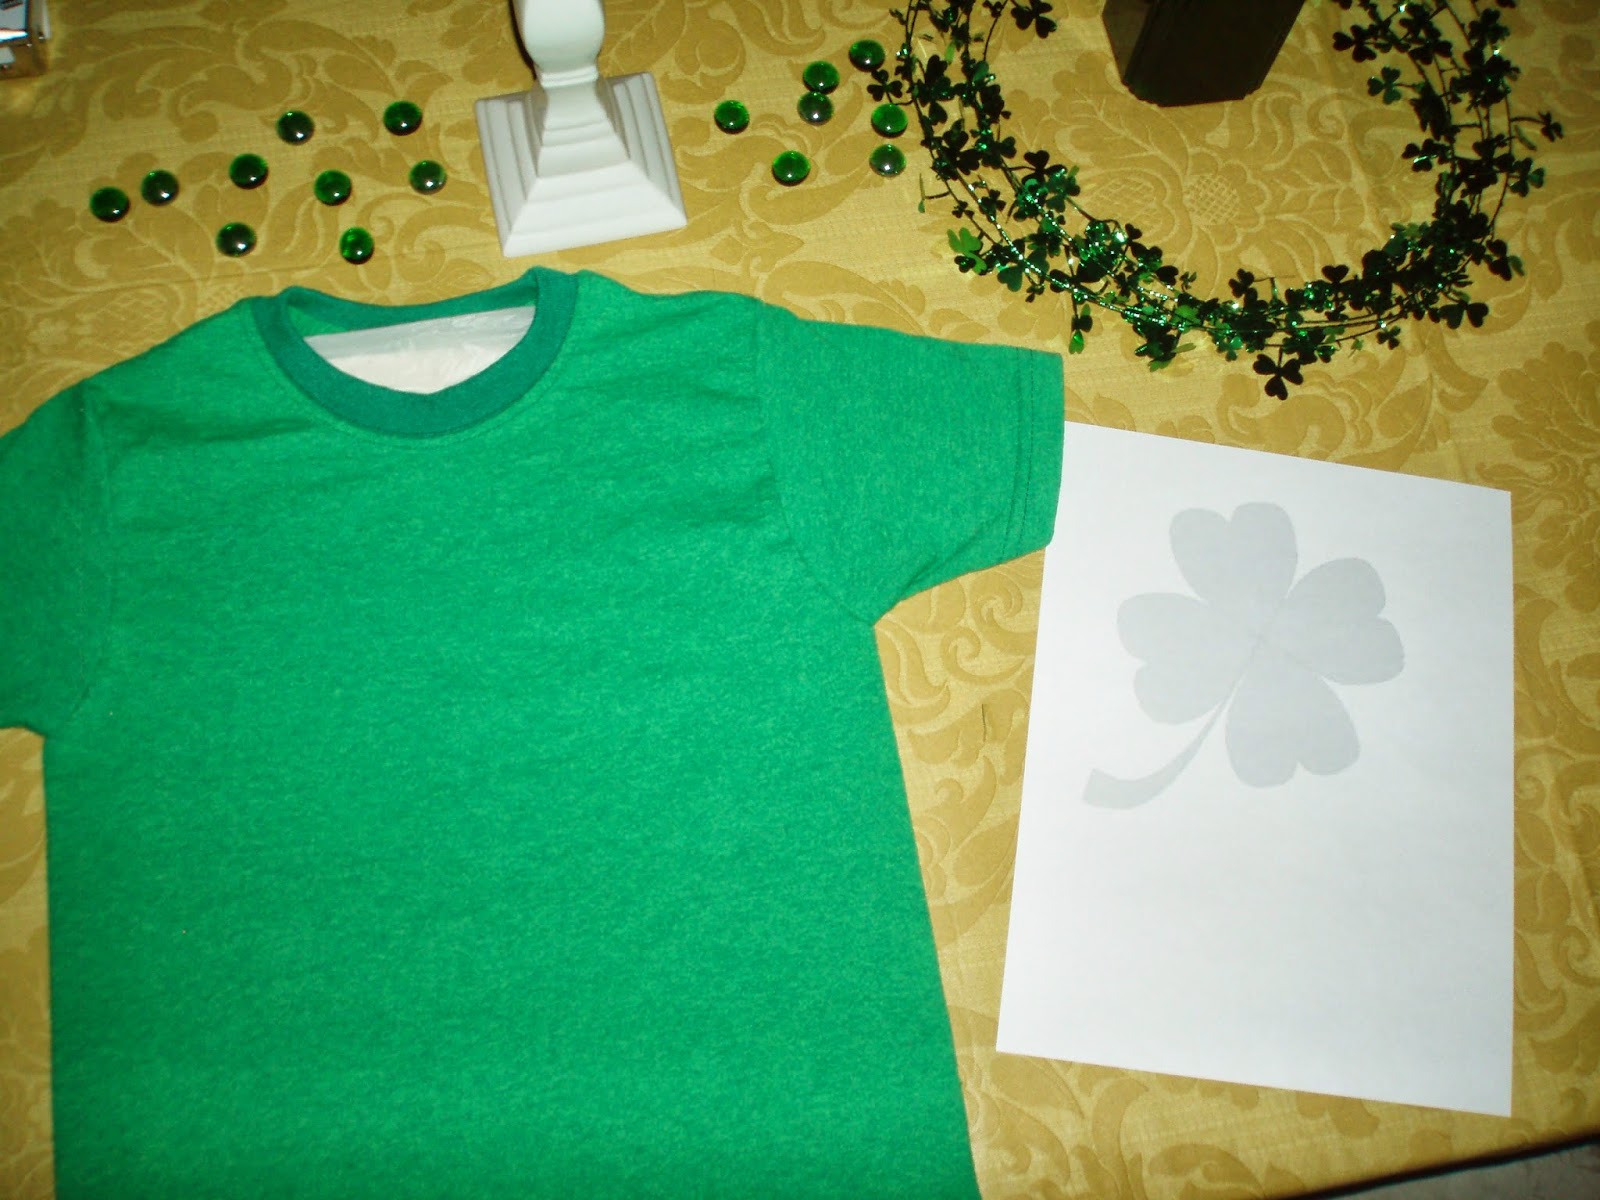


My son made his on a green shirt with white paint.
My girls made theirs on white shirts with different shades of green paints.
 
Slide your shirt over the t-shirt form to keep your fabric smooth and flat. This will also keep any paint from go through to the back of the shirt. Print out an image the size you need, cut it out and use the glue stick to hold it in place on your shirt while you work.
Put a little bit of paint on a paper plate and you’re ready to start dabbing around the edges of your pattern. As soon as you are done painting, peel the paper pattern off and set aside to dry.
 
Oh the concentration.

Working hard.

Thinking, thinking, thinking.
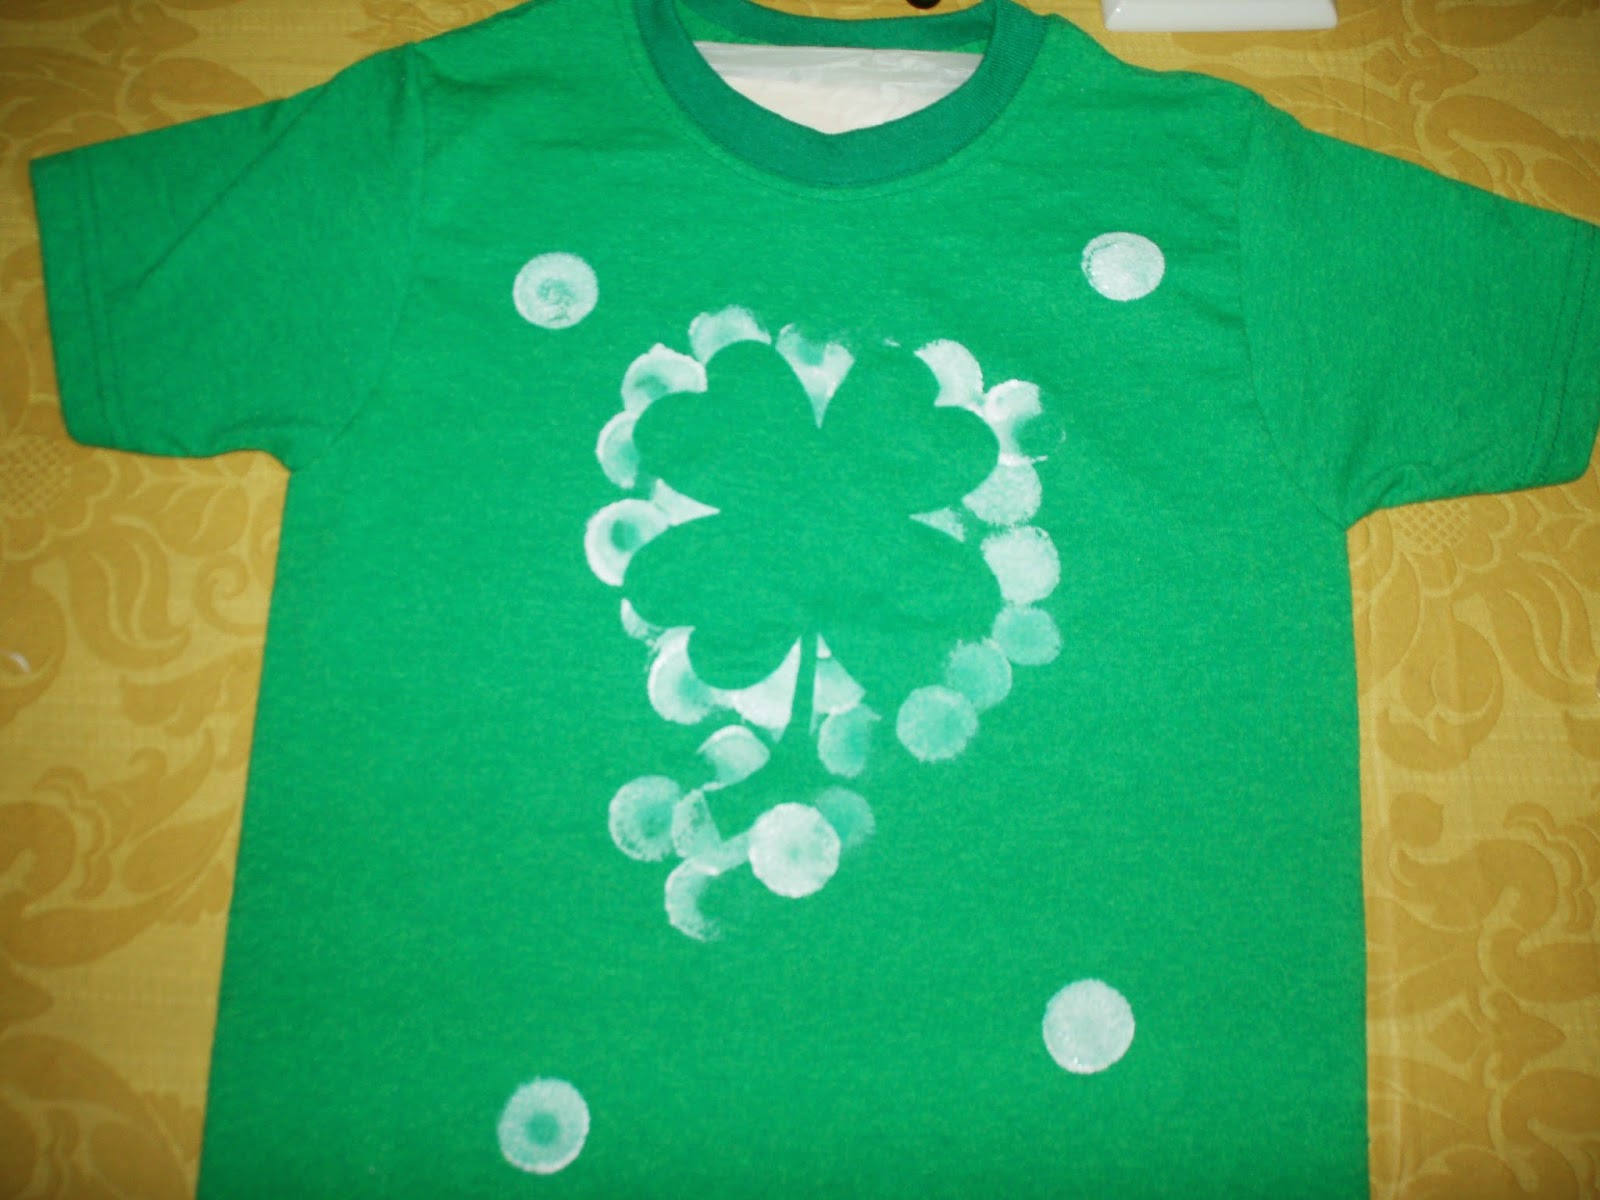
Ta-da!!
 
 
Voila!!! Job well done.


Friday, February 1, 2013

100th Day Shirt


To celebrate the one hundredth day of this school year my little guy needed to wear a shirt with 100 of something on it or bring 100 items into school. (100 safety pins on a shirt or a bag with 100 pennies or something of that nature.) I thought it would be fun if he had a shirt with something creative, to display 100 of something…but what??? Thanks to Pinterest, I found a few cute ideas.

I decided to paint a monster on his shirt and give him 100 eyes.

I was able to use supplies that I already had at home. I took a plain T-shirt with nothing on the front, out of his closest.

I have plenty of fabric paint from other shirts we make at home and I use some left over spongy beads (from a different craft project) to use as a stamp for the eyes. (You could also use erasers or a bottle cap from a 2 litter bottle to make the circle shape.)

First give your monster a fun furry outline, some squiggly legs and antennae. After you give him a mouth, you can start filling him up with eyes. Using the soft foamy beads, I put a short piece of wire through them to make it a little easier to hold.


I made two big eyes near the middle of his face then several medium sized eyes and then I filled in the rest of the space with smaller eyes.


Once I felt I was close to 100 I counted, then counted and then counted and THEN made a few really tiny eyes to get 100!


Once the white paint was dry (about an hour) I went back in and used a pencil eraser to make the colored part. The shirt dried fully over night and now he’s ready to go.


Now I have 2 happy monsters!


Monday, February 20, 2012

T-shirt scarf

For months I was seeing these T-shirt scarves on various blogs. They look cute and seem to be easy enough to make. I do love a good accessory to liven up the old wardrobe so I added it to my ever growing “to do” list. I was pretty sure I could handle the task but once I tried it I knew it would be great to do with my girls. It really was as easy as everyone said.

The straight forward version is to cut strips across the body of a T-shirt and then stretch them out and tie them together.


Ta-da. Yep, that easy.

I was about ready to make mine when I saw this post and she added a braid to hers. A little more sewing was needed to secure the braided ends but still really easy to make.


My girls made their's one Saturday morning.


My girls made their one Saturday morning. My six year old was worried about cutting by her self without a line to cut along. So, I folded the t-shirt and pressed down with my fingers to leave a mark for her to follow.


They also decided to get a little creative by mixing one strip of their colors with each other.


Through the magic of Pinterest I found this one. So I had to try it out for myself. Yep, still pretty easy. It takes a little more time to make but very simple and no sewing required.


Trace some circles...


Cut out as many as you can from one shirt...


Spiral cut each circle....


Ok, so I said no sewing but it satisfied my OCD to stitch the pieces together. After I had them all cut I laid them out on top of each other and put a couple stitches in the middle to hold them all in place.


They add the perfect touch to a T-shirt wardrobe and with a cute flower pin you can dress up the most boring outfit.