Monday, April 20, 2015

Done but not Finished...


Today I made this annoucment on my "Rebecca Designs" facebook page.

I’ve decided to (for a lack of a better term) to downsize Rebecca Designs. (for now)
I can’t really say I’m closing up shop (yet). I have decided to stop doing vendor shows for the time being. I have plenty of inventory to continue selling on Etsy and I have tons of supplies to keep me busy making new items. I love the jewelry I make and won’t stop. I will continue as a hobby, just scaled down to creating things for myself, family, friends and the occasional “by request”.
I will be posting on FB when I have something new up for grabs. And I will continue to add items to my Etsy Shop. So keep “liking” FB posts to be sure you get Rebecca Designs info in your news feed.


I can think of several reasons that I could put down as my motivation for “downsizing” Rebecca Designs. But the bottom line is, that it’s just not as much fun for me as it once was.

 
I will be working over the next several months to liquidate my collection of finished products, as well as my stock of jewelry making supplies. (Don’t worry, I’ll hold onto a few things, I can’t let go entirely) So keep your eyes open for sales and giveaways. If you haven’t “liked” my Rebecca Designs page please do so, it will keep you in the loop of what is happening. You’ll find out first when I have new items for sale and when there are super great deals or giveaways. If you have “liked” my page be sure you have checked the get notifications in news feed as a drop down choice.  


I have more than enough avenues to explore my creative side and to keep me busy. Once I clear my head (and my office) of all the current clutter, there is no telling what might be next for me. I know I’m excited to find out!

Sunday, August 24, 2014

Back to School Gift

This week is the first day of school for many of the students in this area.
This year I'm sending the kids to school with a cute little gift for their teachers.
 
A plastic mug and a package of cookies with a card that reads: "If you give a teacher a cookie, she might want a glass of milk."


Just a cute way to wish them a good start to a new school year.
Happy first day everyone!!!

Monday, July 28, 2014

North Country Trail

 
This scenic trail runs from New York through seven states, 12 National Forests and ends in North Dakota. It covers 4600 miles.  
We have visited portions of the trail that go through Moraine State Park and McConnell’s Mill State Park. This past weekend we stayed at the Davis Hollow Cabin which is operated as a hostel by the North Country Trail volunteers.  
For a reasonable donation you can stay at the cabin. A portion of it is over 200 years old. An addition was put on 100 years ago. It also offers tent pads around the outside of the cabin for hikers to have a base camp. We had the whole place to ourselves. We camp with another family and there was plenty of room for the nine of us.
The cabin was upgraded with a working kitchen and two bathrooms but there are no bathing facilities. However, you can use the showers at the Marina.
The cabin is a short walk to the Marina on Lake Arthur. There is also a seven mile bike trail that goes around the lake. We took our own bikes but you can rent bikes at the park. It was a weekend full of activities for the kids to build lasting memories.
Here are some photos of the cabin.
 
As you walk up from the driveway.
The back side. Peer through the trees and you can see the lake.
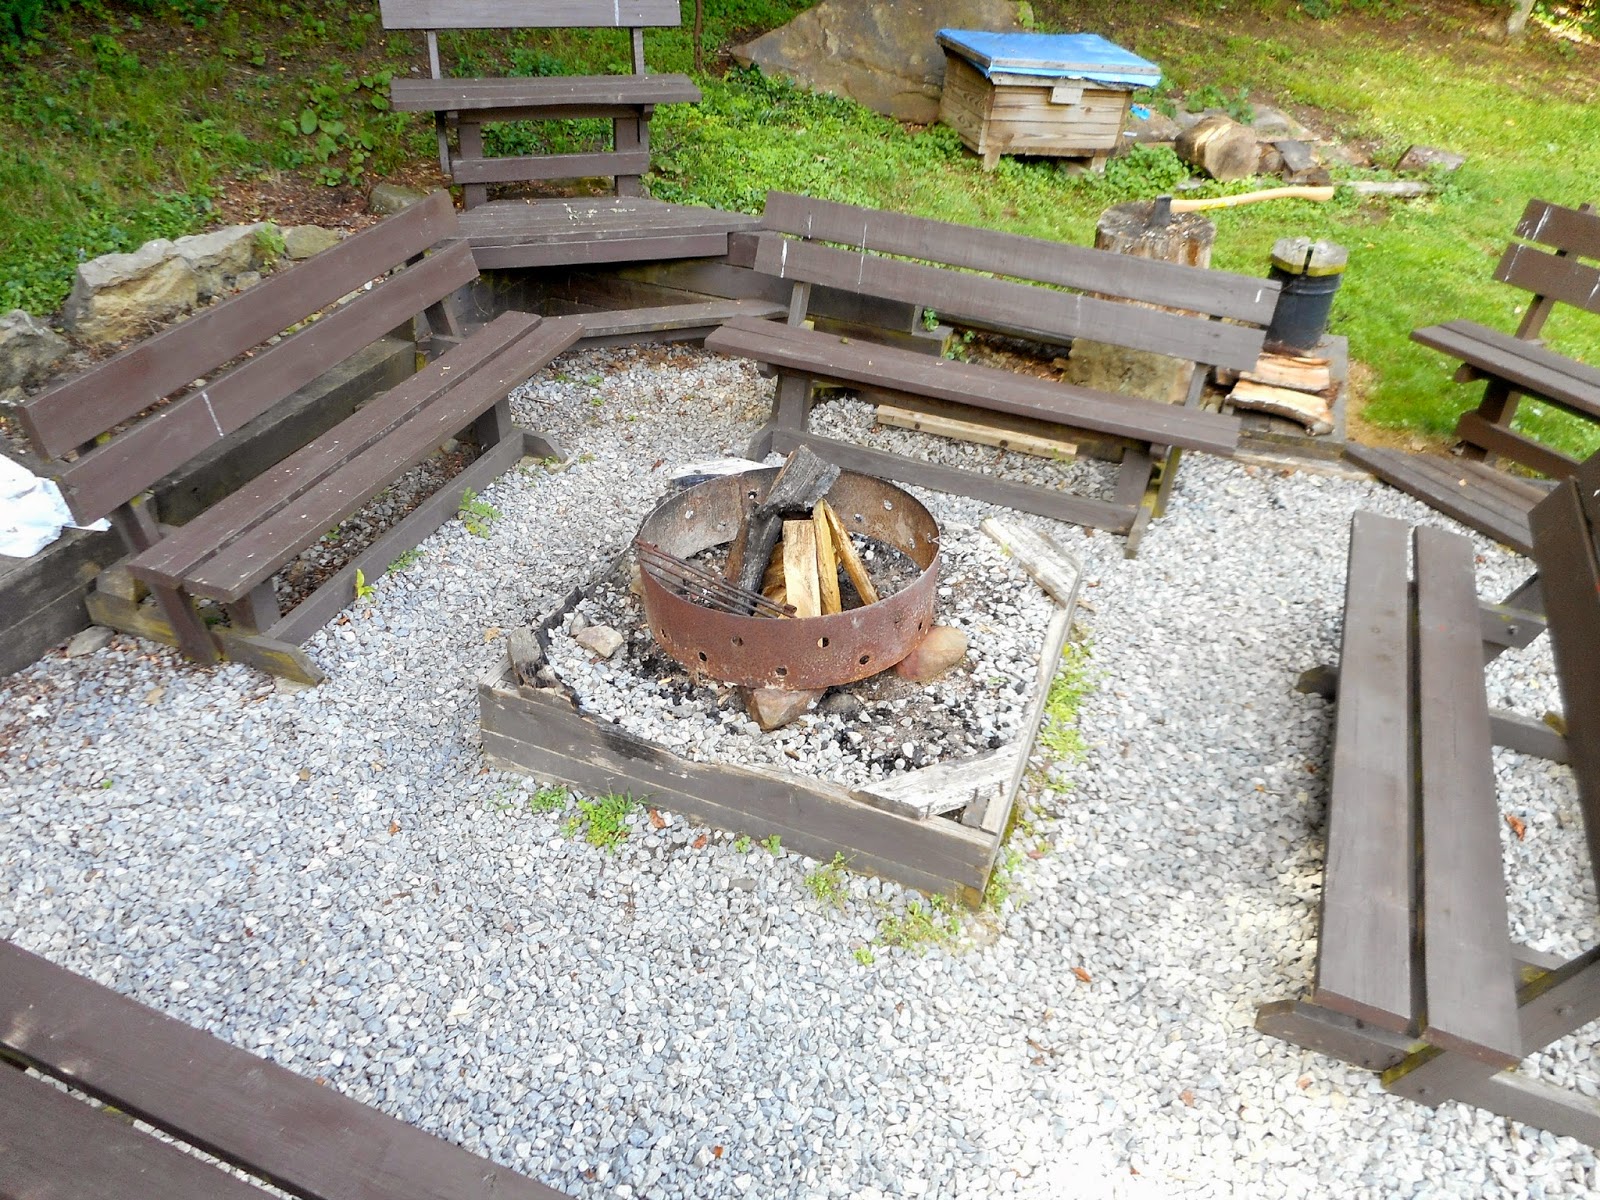
The fire pit
The picnic area next to the fire pit
The eating area as you enter from the porch
The kitchen just off the side of the eating area
From the eating area step down to the great room
The great room from another viewpoint

Go up the steps from the photo above and this room is on the left. It sleeps five people. This room and the other bedroom are also connected with the shared bathroom.

This room is to the right at the top of the steps. the door to the bathroom is in the back left corner here. This room sleeps six people.


 Such a fun relaxing weekend!!!!


Tuesday, July 8, 2014

Catch a Dream

Summers around here tend to be quite busy. There are sport camps and vacation bible school, play dates, picnics in the park, weekend trips, camping and we didn’t even get to vacation yet. Yet despite the go, go, go of it all, there are still the occasional days that the kids can’t seem to find anything to do.
I think sometimes they have so many choices, that they just can’t see any of the options in front of them and nothing seems like it would be fun. If I’m on my “A” game, I try to pick something simple for them to occupy their time to use some creativity. With nothing to do…I tossed some yarn and pipe cleaners on the table.
They were able to work together to bend the pipe cleaners into a variety of shapes, wrap them in colored yarn and create several dream catchers to decorate the light above my kitchen table. I’ll be keeping these supplies close at hand for the next time I hear “There is nothing to do”.


Sunday, June 8, 2014

End of Year Teacher Gift

 
For my son’s Kindergarten teacher this year I planned a group gift from all the kids in the classroom. They will be giving her an apron and a cookbook.

Not just any apron…

The apron has a handprint from each of the kids in the class. I had a white canvas apron and some fabric paint. As the homeroom Mom, I knew in advance of a conference that our teacher had planned to attend. I talked with the sub and the dean of students to plan a time to come into the classroom.

Along with the apron and fabric paint, I took in some wet wipes, paper towels, several paper plates, a paint pen and a check list of student names.

My helper (aka my son) called back one kid at a time. Each child was able to choose the color they wanted, then I spread a little paint out on a plate, squished their hand into the paint and then onto the apron. While my son checked their name off the list a used the paint pen to write the name under their handprint. Then we were on to the next kid.

I timed it so I could do this project in the back of the classroom while the kids were having their snack time. I went in, set up, got all the handprints and cleaned up in just under 30 minutes.

And not just any cookbook…

I sent an e-mail out to the parents of each kid and asked them to please send me a recipe. I printed out each recipe including the child’s name at the top of the page. I put all the recipes together and found this great tutorial for bookbinding. She had great step by step instructions and a picture with numbers and arrows that made it so simple to follow. And the finished product looks so good.


I used brown cardstock for the cover and wrapped the front cover with scrapbook paper to make it pretty.

 
I made a template to mark off holes for the pages and then I used waxed linen cord to do the binding.
I also included this recipe for the teacher.
 
Recipe for the Best Kindergarten Teacher
(This will yield one very successful class)
 
You will need:
Handful of curiosity
1 Cup of Honesty
2 Cups of Teamwork
1 Cup of Effort
2 Cups of Kindness
1 lb. of Excitement for Learning
1 lb. of Passion for Teaching
A Pinch of Fun and a Sprinkle of Creativity
 
Combine all ingredients with a gentle hand and a loving heart.
 
Thank you for all the helping hands you have given us.
Enjoy your summer!!!
 

I think she’s love the gift and remember the kids when she’s looking up one of the yummy recipes.

Thursday, May 29, 2014

Four Star Menu

I’ve been camping with my hubby, kids and another family for about two years. I always thought, the menu when camping, would be limited to hotdogs and S’mores.
I still feel that I’m a novice at the whole thing but I did feel brave enough to suggest a few menu choices for this past trip.
We’re usually out on an adventure during the day, so lunch happens away from camp. Here’s what we had for our dinners and breakfasts this time around.


Friday Dinner: Chicken tenders, Mac-n-cheese and veggies.
Sat Breakfast: Sausage, eggs and cheese on an English muffin.
Sat Dinner: Pizza Roll.
Sunday Breakfast: Pancakes and Bacon.
Sunday Dinner: Lasagna and Salad.


I’m still amazed. Our menu at home doesn’t always look this appetizing.
Before we left for the camping trip, I made a few things ahead. The mac n cheese recipe I found here.

I altered it slightly, here’s what I did...

More than a half of a box of elbow macaroni; cooked.
An 8 oz. block of white cheddar shredded.
About a ¼ cup of parmesan cheese.
2 T. of milk (could have used a little more I think)
And 2-3 T. of butter.

In a bowl, combine the cooked macaroni and the shredded cheese. Transfer this into a foil pie pan then place pads of butter all around the top and poured the milk over. Then I sprinkled a little extra cheese over the top and covered with tin foil.

 
When ready to cook, place on fire or hot grill. We put ours into a Dutch oven and used the hot coals to heat.
 
It was really good! I think next time maybe a little more cheese and maybe some more milk to give added creaminess. With the chicken tenders (Fully cooked, bread, frozen- they just need to be heated through) some cut veggies and t6here was plenty to feed the 9 of us.


For the pizza roll I used this recipe. It is also was made in advance and frozen to be cooked on a campfire. I made two rolls and we finished the cut veggies left from the first night.
The lasagna was made in the Dutch oven with no-boil noodles (the kind that doesn’t need to be boiled ahead of time). That with a bag of spring mix salad and we had another balanced meal. Yummy!!!
Another successful camping trip full of wonderful memories for the kiddos!

Wednesday, May 14, 2014

A Snowman in Summer

As the school year comes to an end, our schedules are filled with talent shows and other school performances. They really are one of my favorite things. What could be more adorable than lining a bunch of little kiddos up in their homemade costumes? Oh, put them on stage, giving them music and a few cute gestures! Adorable!
I’ve been to two such shows so far this month and there are two more to go still.
When my middle child started planning her performance, I was all too happy to help out with some matching shirts for her and her buddies. While they planned a riveting, show-stopping hula-hoop routine to the song “Summer” (made famous by our favorite snowman) I went into action planning their shirts.
After finding a cute image of Olaf, I printed out 3 copies. I grabbed 3 T-shirts for about 3.50 each and a couple of paint pens and was able to make them matching Olaf shirts for less than if I had bought just one shirt at a Disney store.


Here’s the easy “how to”…

1.   Pre-wash your shirt
2.   Place a plastic covered piece of cardboard inside the shirt to prevent the paint from going through. (I taped my shirts to the table too so they didn't shift while I was working)
3.   Slid the image inside the shirt and trace.


Ta-da! Three happy hula-hooping little girls! Life is good!!