Showing posts with label painting. Show all posts

Saturday, March 15, 2014

Saint Patrick's Day Shirts


I’ve been making festive t-shirts for my kiddos for years. This time around I thought I would give the reins over to them. I have to say, I think they did a pretty good job.

What you need to make one yourself….

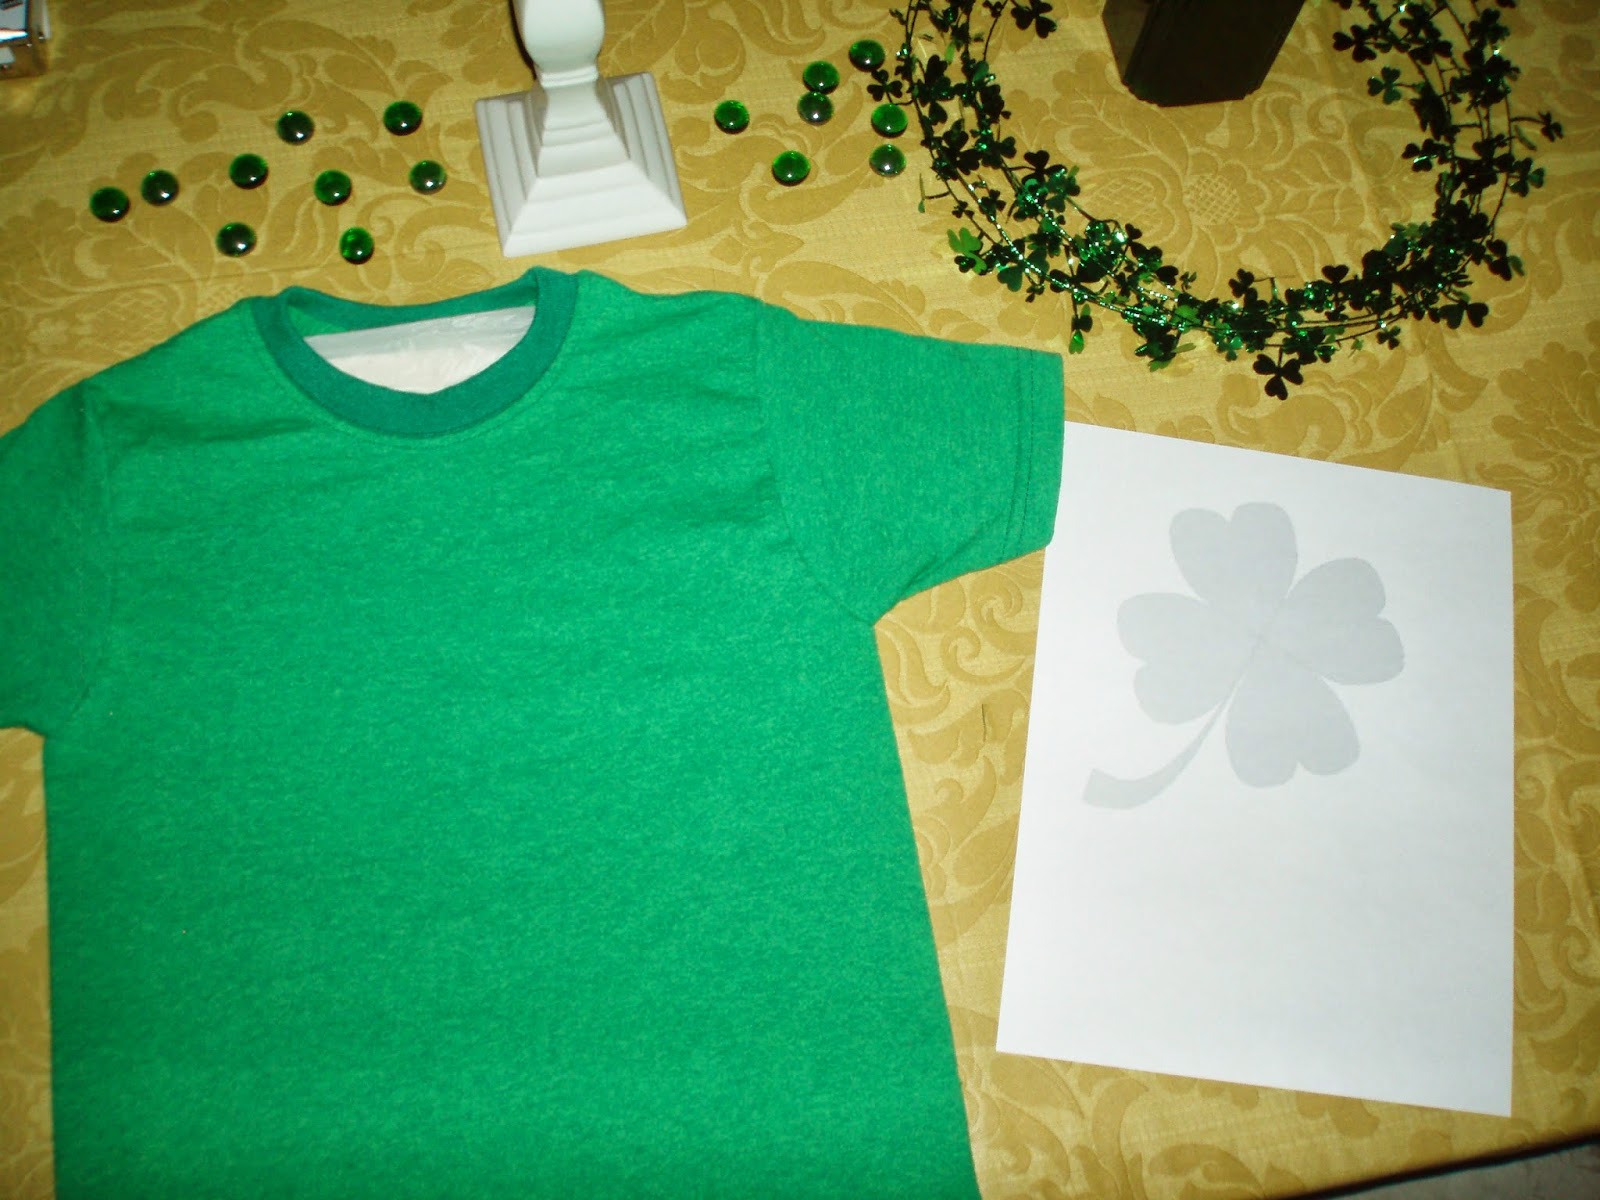
T-shirt (I usually pre-wash)
T-shirt form (I made my own from cardboard and covered them with plastic bags)
Paper plates
Fabric paint
Pencils and/or sponge dabber
Pattern (I copied an image from google and cut it out of cardstock)
Glue stick


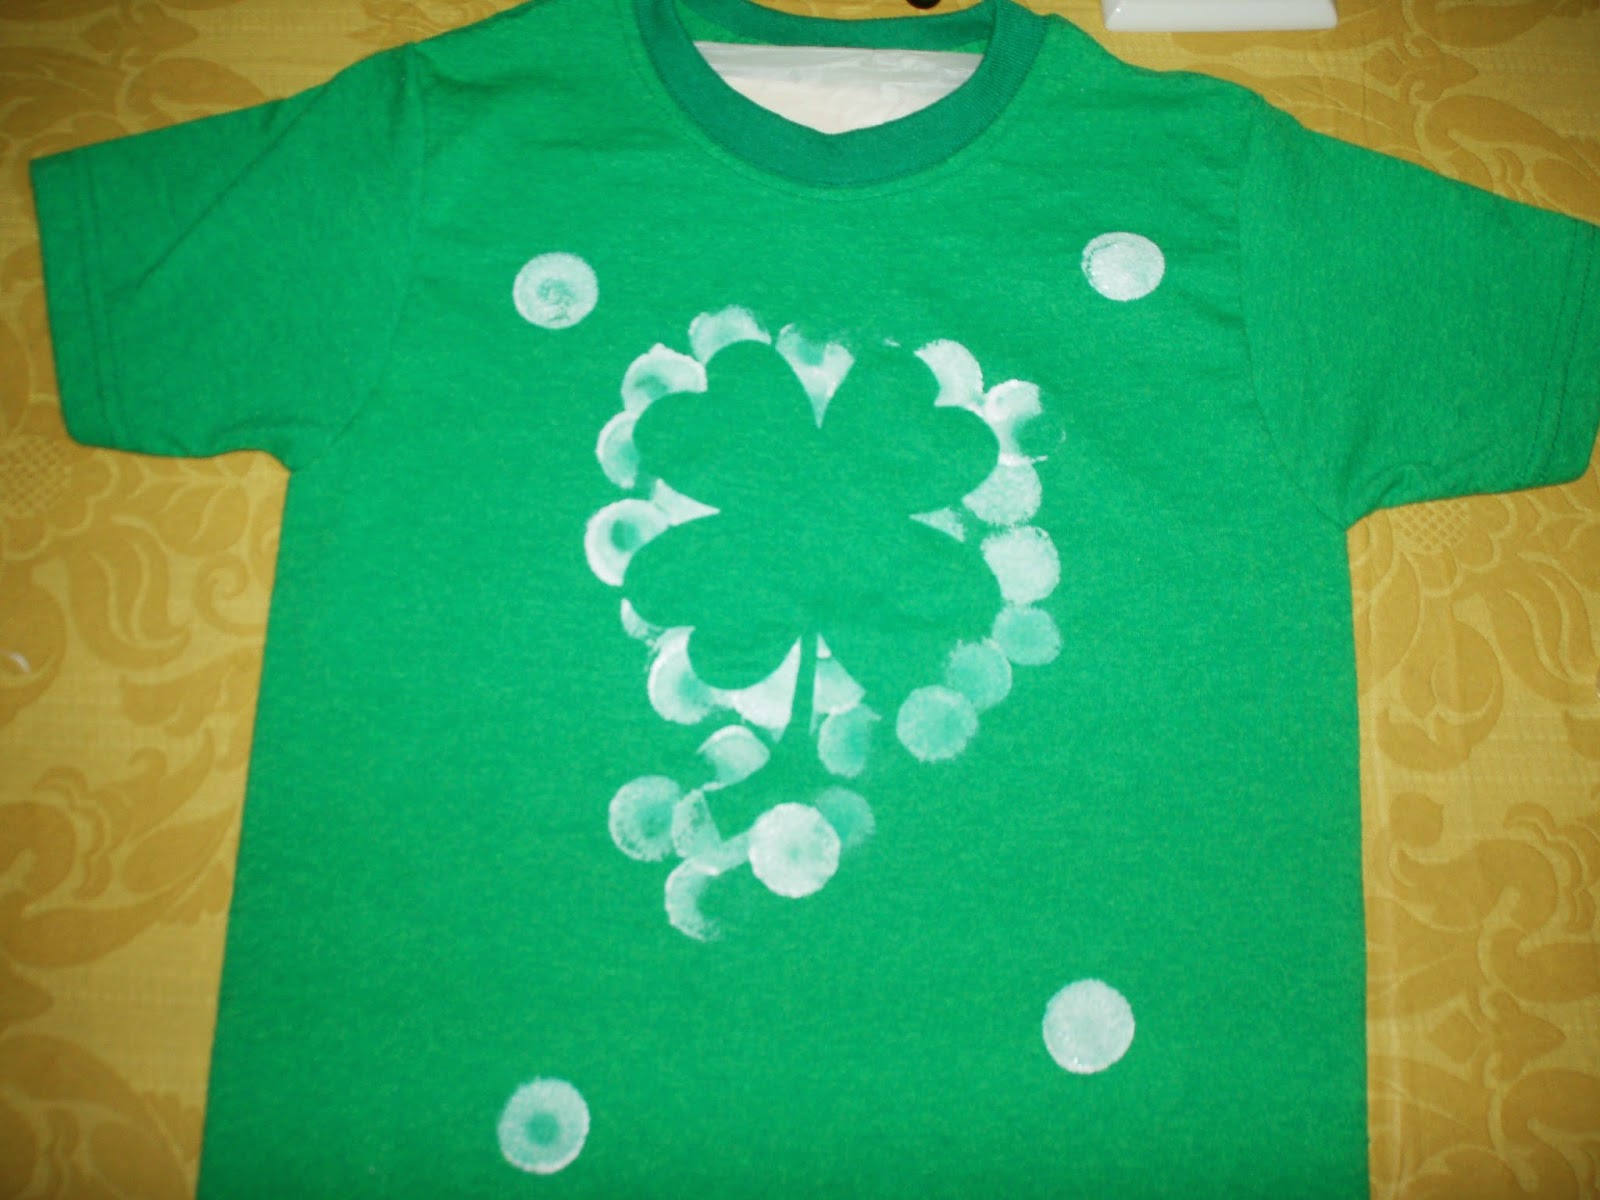
My son made his on a green shirt with white paint.
My girls made theirs on white shirts with different shades of green paints.
 
Slide your shirt over the t-shirt form to keep your fabric smooth and flat. This will also keep any paint from go through to the back of the shirt. Print out an image the size you need, cut it out and use the glue stick to hold it in place on your shirt while you work.
Put a little bit of paint on a paper plate and you’re ready to start dabbing around the edges of your pattern. As soon as you are done painting, peel the paper pattern off and set aside to dry.
 
Oh the concentration.

Working hard.

Thinking, thinking, thinking.

Ta-da!!
 
 
Voila!!! Job well done.


Tuesday, June 7, 2011

Powder room Makeover

Here’s the latest addition to the whole house makeover. You might remember that I started re-decorating everything at the beginning of last year. You can go back and check out the living room here and don’t forget the ceiling fan too. Then there is the kitchen here, right down to the magnets. Around here, if it stands still it’s getting painted.

So this spring, I decided that the powder room needed a little freshening up. It was one of the first things I decorated when we moved into this house. I always liked the way it looked with the rag roll treatment on the walls. I just wanted to give it a facelift with a new color.

Rag rolling is a paint treatment that literally rolls the paint on the walls with a rag. It gives the wall a patterned effect that almost looks like some sort of wallpaper.

To rag roll you need:
A plastic container with a lid.
Paint
A rag (I used a piece of old sheet)
Glaze
Latex gloves


Mix equal parts of glaze and paint. I used sample size jars of paint and still have a little bit leftover. A little really goes a long way.

Stir the glaze and the paint together in the plastic container. Get your gloves on and wet the rag with water. Ring out all the excess water and then dip the rag into the paint. Make sure it is covered with paint and then squeeze the extra paint off back into the container.

Now crumple the rag up in a ball. Place it on the wall and then slowly roll it along the wall in random directions. You can go over the same area as you move the rag from section to section. As the rag is rolled it leaves paint behind in its path. Go as light or heavy as you want, just try to be consistent in the room.


Here is the before when it was a sage green. When we moved in I just put the green over the existing beige that covered every wall in the house.


For the re-do I had to cover the green and give the room a new base coat.


This time around I went with two shades of blue. (Go figure)
When using two colors the technique is the same you just do all of one color. After the first coat is dry move on and do the same thing again with the next color.


Now, I couldn’t just paint and change any of the other details….
So I spray painted the Light and turned it from the standard brass in all the houses on my street to a hammered silver.


I also hit the towel rod, the outlet cover and the light switch plate.


I even put a coat of paint on the silver hook to make sure it had the same finish as the rest of the fixtures.


I hung an empty frame from the hook to jazz up that boring mirror.


Even the candle got a new dress. I didn’t think that Yankee candle would make my favorite scent in the color I wanted and the green did go with the new paint color so I cut a placemat and wrapped it around the candle. Vola. It matches!!!!


I have a few ideas for the wall decorations but I might need a little time to get to them. Don’t worry; I’ll be sure to share them with you as soon as I get them done.




Tuesday, April 13, 2010

Faux Tile

Before I show off my kitchen makeover, I thought I would show you some of my fake tile projects. When we first moved in this house, there were a lot of initial expenses so I tried to do as much decorating as I could on as little money as possible. I covered the awful cabinets with tin instead of replacing them like I really wanted to do. (You’ll see that when I do the before and after photos – next post). I then wanted to pull things together in the kitchen with a tile backsplash but that wasn’t part of the budget. So if it sits still, it gets painted. Yep, that’s right I painted a tile backsplash.

I had done this trick several years ago in an apartment that was as bland as it could be. I painted a faux brick wall to give it some interest. Most people had to go touch it to be sure it wasn’t real. I wish I had a photo to show you. But here’s the tile I did here in the kitchen.


I painted the base color or the color of the “grout” first. After it was good and dry, I taped off my grout lines using gout tape.


Can you believe there is such a thing? It’s basically masking tape that is cut thin. It’s about ¼ inch like the width of grout. You might be able to find it in some craft stores. I got mine from Ace Hardware for just under $5.00.

Once you have your lines taped off then you can paint you tile color. You can do one or several colors. You should use at least 2 to give the tile some depth. On mine I rubbed a silver shimmer on the top edges of each “tile” to make it look more real. On the small square tiles I used the stamps to embellish them. (Look familiar??? Remember the magnets?)

When I did the brick, I use 3 shades of red and dabbed them on with a stencil brush to give it the look of natural brick and shadows. A stencil brush is round with a flat contact area. You use it to “tap” paint onto your project.


For a short time here I had one of the walls painted purple. It was supposed to help balance the green walls and the orange-ish tone of the wood furniture. (Didn’t work) Anyway, I wanted to pull all the colors together so I tried to re-do the tile backsplash. I painted my grout color and then taped off a brick pattern. Then I randomly painted the bricks in all the different colors of the room.

I never really liked the look so it didn’t make it around the rest of the kitchen. I was going to come up with something different then I decided it was just time to re-do EVERYTHING.

Wait ‘til you see what is up there now!

Monday, March 15, 2010

Mirror, mirror

I wasn’t kidding when I said everything that stood still was getting painted. Remember this mirror from my mantle?


It needed updated to fit in with the rest of the changes around here. This was a fun, easy, can-do-no-wrong project. Hubby brought this mirror home for me on one of his trips to Sam’s club shortly after we moved in this house. It came with two matching picture frames that I think I sold at a yard sale. I liked the mirror for the mantle and it had a home there for several years now. What made this project so easy to update was the texture on the frame. It was the perfect pallet for adding color. The pattern has a lot of recessed areas to catch paint and raised areas that catch other colors.


Originally it was sort of a brass tone or an antiqued gold. To fit in with the new color scheme, I added blue, green and brown. First, it got a coat of primer then the fun began. This was a no-fear project because if I didn’t like the look, I just added more paint until it felt right. Step one was to fill in the recessed areas with blue from one of my wall colors. Some of the smaller recessed areas got a touch of green. (I plan to use that color as an accent color in the room). Then I covered the frame in brown paint (another wall color). I added paint and then wiped it off until there was just enough of each color to give the “look” I was hopping for. Now, these were the colors from the room but it felt like it was missing something. I mixed some craft paint together to get a combination of silver and black. I dry-brushed this on in random spots to give added depth to the frame. (That's my son's foot...he had to be a part of Mama's picture).

After I felt like I had enough color on then I put a coat of clear finish on the frame to give it a shine. Ta Da! A new mirror for my mantle. I can’t wait to put it in place.

BTW- the pictures don't do it justice. It looks much better in person.